Software Navigation
In the following it is explained how to work with the various entities and features in the main work space. If you want to click along, you may want to open the Children & Happiness sample project.
After you downloaded the project bundle file, import it. See Importing An Existing Project . (see the main manual).
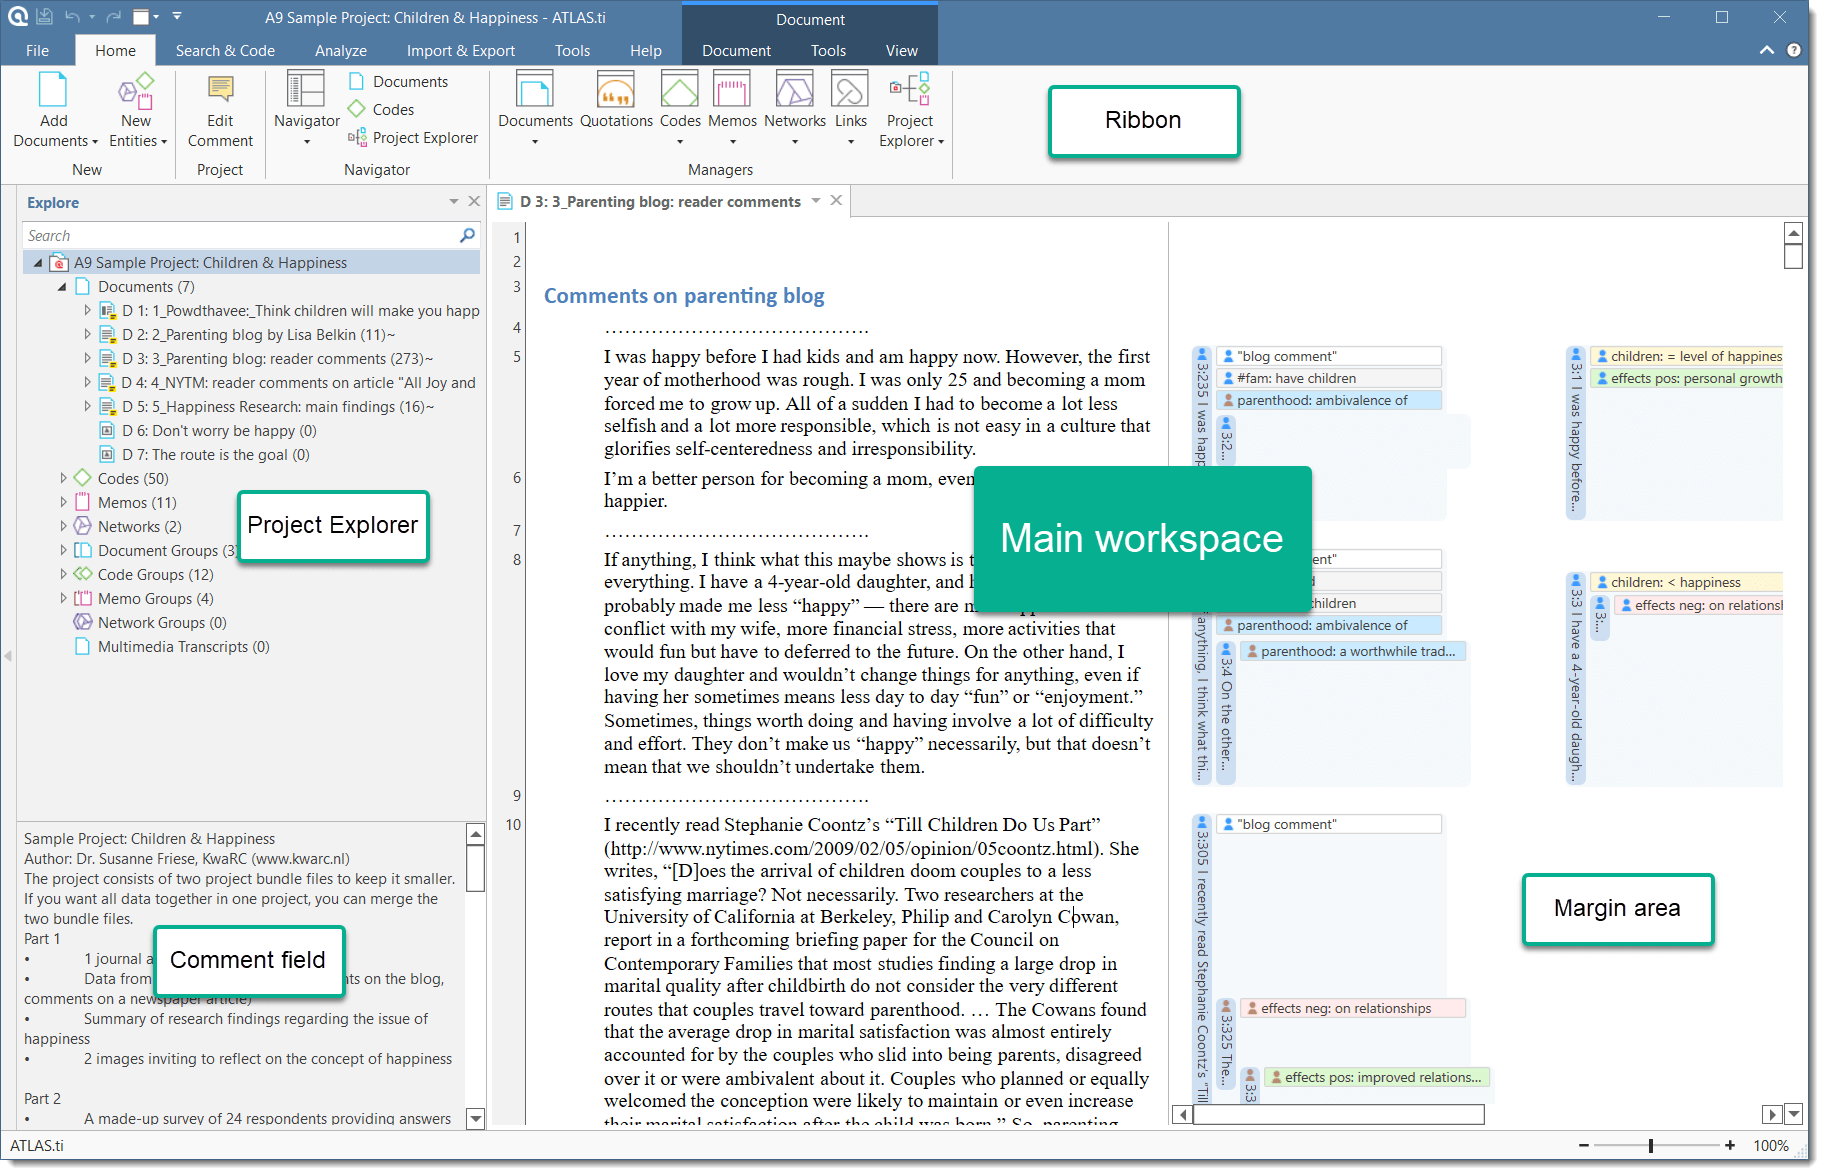
When you open a project, the Project Explorer opens automatically on the left-hand side. From the main branches you can access documents, codes, memos, networks and all groups. If you are looking for something in particular, you can enter a search term into the search field. If you open the branches of the various entities, they will only show you items that contain the search term.
To open a branch, click on the triangle in front of each entity, or right-click and select the Expand option from the context menu.
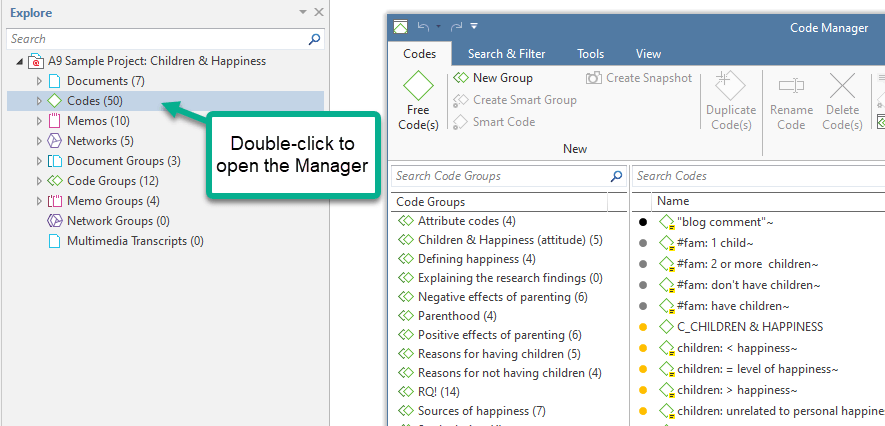
When double-clicking a main branch, the respective manager of the selected entity type is opened. See Entity Managers. (see the main manual).
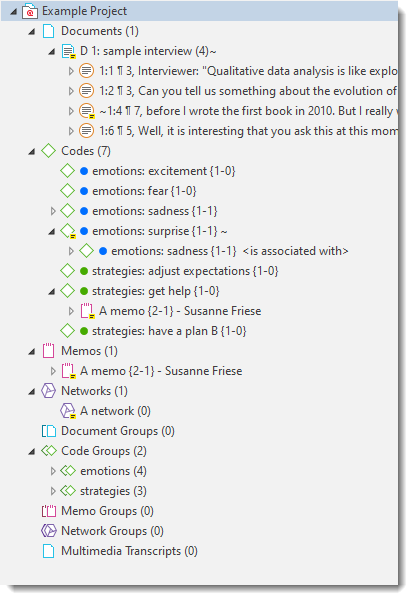
Under the main Documents branch, you see all documents. Below each document, you can access all quotations of a document.
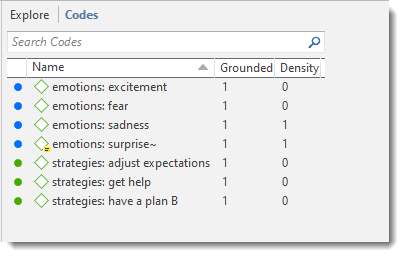
Under the main Codes branch, you see the list of all codes. On the next level, you see all linked codes. For further information see Linking Nodes.
Under the main Memos branch, you see the list of all memos. On the next level, you see all linked entities, which for memos can be other memos, quotations and codes.
Under the main Networks branch, you see the list of all networks. On the next level, you see all entities that are contained in the network. If you open the branches further, you see the entities that are linked to the respective items.
Under the Groups branches, you see the list of all groups and below each group, the list of all members of the selected group.
If an entity has a comment, this is indicated by a yellow post-it note attached to the entity icon.
Browsers
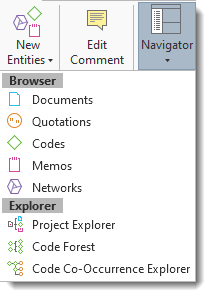
In addition to the Project Explorer that contains all project items, you can open browsers that only contain one entity type. Browsers are available for documents, quotations, memos and networks.
To open one of the browsers, click on the drop-down arrow of the Navigator button. As the documents and codes browsers are frequently needed, you can also launch them directly from the navigator group.
The single entity browsers open in tabs next to the Project Explorer. Each browser also has a search field on top. This facilitates working with long lists.
Context Menus
Each item in the navigation panel has a context menu, which means a context sensitive menu opens when you right-click. Depending on the entity that you click, each context-menu will be slightly different. Common to all context menus is the Expand and Collapse option, and the option to open the Entity Manager.

Explorers
You can open three types of explorers in the navigation panel: the Project Explorer (see above), the Code Forest (see the main manual)., and the Code Co-occurrence Explorer (see the main manual).).
Closing Browsers and Explorers
To close either a browser or explorer, click on the X at the top right of the Navigation Panel.
To close all (or all but one), right-click on the drop down arrow and select the appropriate option from the context menu.
Working with Docked and Floated Windows
When you first open a manager or other windows, they will be opened in floating mode. All windows can however also be docked. Depending on what you are currently doing, you may prefer a window to be docked or floated. Once you have docked a window, ATLAS.ti will remember this as your preferred setting for the current session. This is how you do it:
Open the Code Manager by clicking the Codes button in the Home Tab.
To dock this window, click on the fourth icon from the right (left of the minimize button).

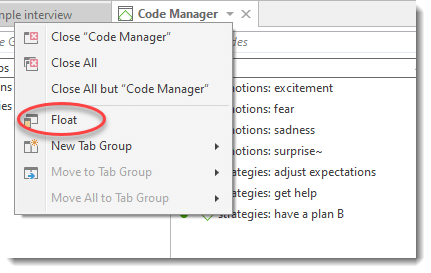
To float a window , click on the drop down arrow next to the manager name and select Float.
Always On Top
A floating window disappears in the background if you click outside the window. If you prefer the window to stay on top of other windows, right-click on the button at the top left of the window and select the option Always On Top.
Working With Tabs and Tab Groups
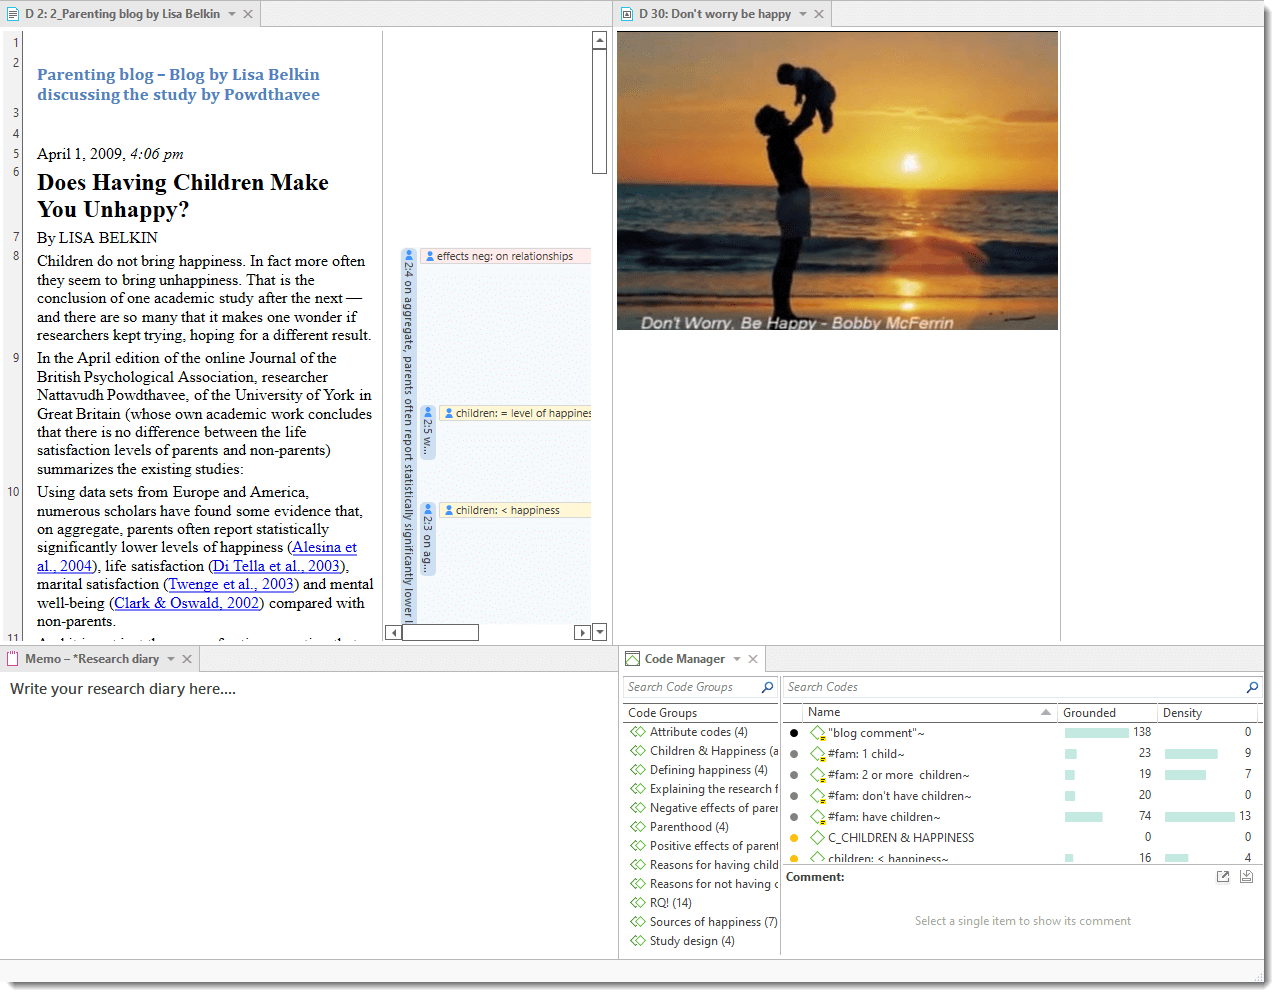
When you load documents or open managers, networks and memos, they are displayed in tabs next to each other. Depending on what you do, it is more convenient to see certain items side-by-side in different tab groups. This is how you do it.
Load for instance two documents. You do this by opening the document tree in the navigation area on the left-hand side and double-click a document.
When double-clicking on two or more documents, they are loaded into different tabs in the main work space. The tab of the currently loaded document is colored in white.
To move one of the documents into a new tab group, click on the down arrow next to the document name in the header and select New Tab Group > Right.
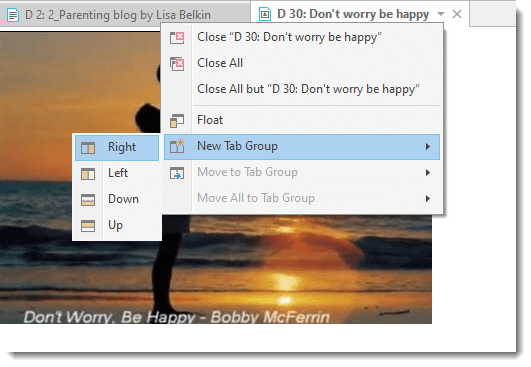
You have the option to move it into a tab group to the right, left, down or up.
This can also be done with any other items you open, be it a list of codes, a memo, or a network. You can individualize your work space as it suits your needs. An example is shown below.