
Importing Transcripts in RTF or Word format
A multimedia transcript in ATLAS.ti consists of two documents: an audio or video file plus an associated transcript. The first step is to add the audio or video file to a project. Then you can associate one or multiple transcripts with the document.
The different transcription programs use various formats for time stamps. ATLAS.ti supports the following:
| Transcription Software | Format of time stamps |
|---|---|
| Easytranscript, f4 & f5transcript | #hh:mm:ss-x# |
| Transcribe | [hh:mm:ss] |
| HyperTRANSCRIBE, Inqscribe, Transcriva | [hh:mm:ss.xx] |
| HyperTRANSCRIBE, Inqscribe, Transcriva | [hh:mm:ss.xxx] |
| Transana | (h:mm:ss.xx) |
| Transcriber Pro | hh:mm:ss |
This is how you import an existing transcript:
Step 1 - Add an Audio or Video File
To add an audio or video file: click on the Add Documents button in the Home ribbon; or select the link option from the dropdown menu: Add Documents > Add Linked Video/Audio.
For more information see: Add a multimedia file to your project.
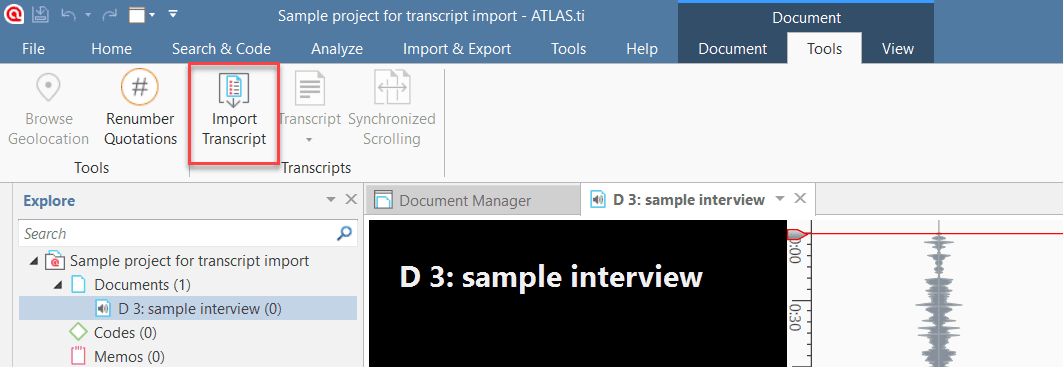
Step 2 - Associate a Transcript
Load the multimedia document, select the Tools tab in the toolbar, and from there Import Transcript.
inst
Select the transcript that belongs to the audio or video file and click Open. Currently, supported file formats are: txt, rtf, doc, docx, srt, and vtt.
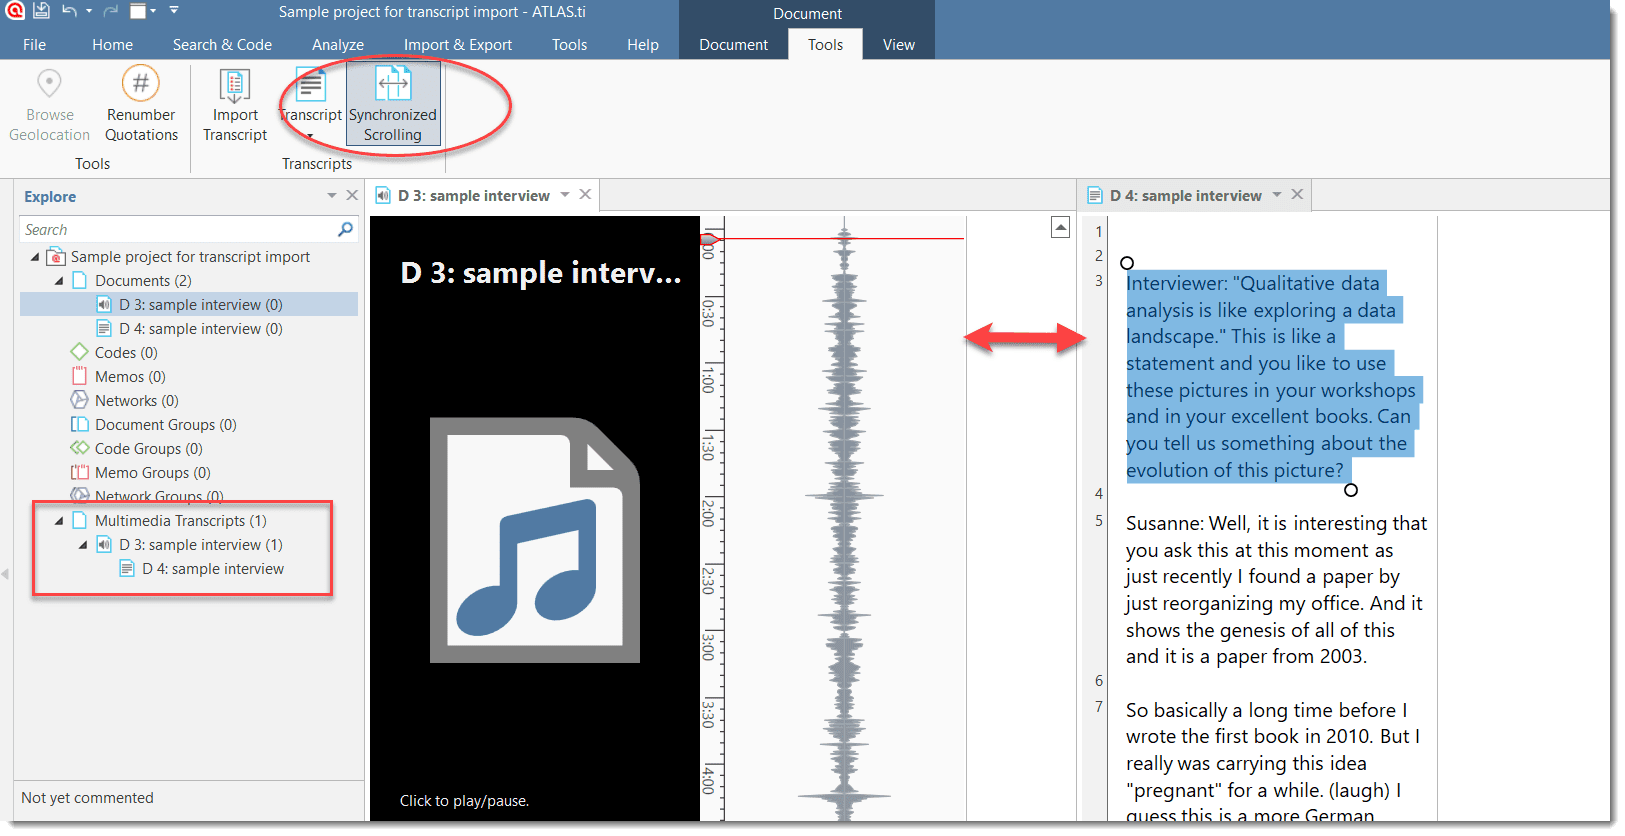
The transcript will be imported into the project and loaded next to the multimedia file. Below you see an audio recorded interview transcribed with f4 transcript.
Further, you see a new entry in the Project Explorer under the Multimedia Transcripts branch.
It is possible to associated multiple transcripts with the same audio or video file, e.g. if you have different language versions.
Synchronized Scrolling
By default, synchronized scrolling is activated in the toolbar after importing a transcript. This means when you play the multimedia file, the text segment in the transcript between two timestamps is highlighted while the multimedia file is playing.
In the lower area of the multimedia file you can see the timestamps. However, these are not visible in the transcript in the current Windows version and cannot be modified.
Deleting an As
Open the Multimedia Transcripts branch in the Project Explorer, right-click on either transcript or the multimedia file, and select Delete.
This does not remove the document from the project. The multimedia file and transcript are still available in the Documents branch, but they are no longer associated.
If you want to remove an associated document from the project, you need to delete the association first.