
ATLAS.ti Project Data is Saved to a Library
Working with the ATLAS.ti Library
The default location for ATLAS.ti project files is on the C drive. If it is not possible for all users to work on the C drive, either because of institutional restrictions or the C drive is already full and there is not enough space, there is an option to create a custom location where your ATLAS.ti-data are saved. Important to know
-
Each user works within her or his own ATLAS.ti library.
-
Each user can define where the ATLAS.ti library should be located. This location can be on your computer, on a server, or an external drive.
-
It is not possible to use a cloud sharing service like Dropbox because the specific way in which such systems work can jeopardize the integrity of the ATLAS.ti library.
-
It is possible to work with multiple libraries. Theoretically, you could create a new empty library every time you start a new project. This, however, requires careful data management on your part as you need to keep track where all of these different libraries are located.
Changing the Library Location
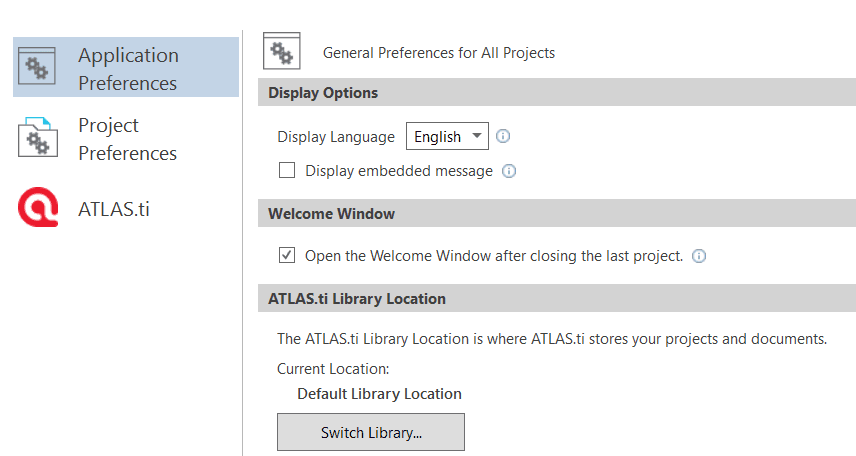
When you start ATLAS.ti, select Options at the bottom left of your screen. If a project is already open, you need to close it. You cannot change the location of the library, if a project is currently open.
Select Application Preferences > ATLAS.ti Library location > Switch Library.
A wizard opens that guides you through the process. The next choice you need to make is whether you want to open an existing library, move the library to a different location, or create a new empty library.
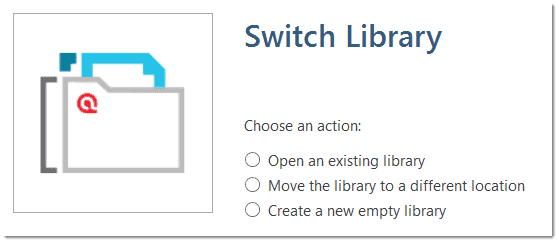
Moving the Library to a Different Location: Chose this option if you want or need to move your current library to a different location, e.g. because you do no longer want to work on the C drive. It is possible to keep a copy of the library at the old location.
Creating a New Library: This option allows you to create a new library at a location of your choice. If you already have projects, none of these will be moved over into the new library. To fill this library, you either create new projects from scratch, or you import project bundle files that you previously exported from other libraries.
Open an existing library: Chose this option if you work with multiple libraries, and you want to gain access to an already existing library at a different location.
After you made your choice, click Next.
-
If you selected to open an existing library: Select the location for this library
-
If you selected to move the library: Select the location where you want this library to be. You can keep a copy of the actual state of the library at the current location. Just keep in mind that this copy is not updated if you continue your work using the library at the new location.
-
If you selected to create a new empty library: Select where this new library shall be created. After confirming the new location, your opening screen will be empty, and you can begin to fill it with new projects.
A note from the Help Desk: We know that your project data is very valuable to you and that you do not want to lose it. Therefore, please select a sensible location for the ATLAS.ti library. For instance: Do not store it on the desktop. You probably have a folder where you store all project related data. If you cannot or do not want to use the ATLAS.ti default location, we recommend that you create a sub-folder for your ATLAS.ti related work within your project folder, and within this sub-folder, a dedicated folder for your library. Make sure your project folder is included in any automated back-up routine of your computer!